Overview
This wiki covers how to install Nextcloud using Proxmox VE Helper Scripts. There are multiple ways in which Nextcloud can be installed, but this wiki will focus on using the Proxmox VE Helper Scripts. There will be resource recommendations throughout the wiki, but ultimately the resources allocated to the VM will depend on your use case.
Install Nextcloud via Proxmox VE Helper Scripts
Open the Shell for your Proxmox server by clicking the Shell button in the top right corner of the Proxmox web interface.

Next, navigate to the Proxmox VE Helper-Scripts Nextcloud VM page, and copy the command to install the Nextcloud VM.
Paste the command into the Proxmox shell and press Enter to execute it. This will start the installation process for the Nextcloud VM. Use TAB to move between sections, the arrow keys to move between selections, space bar to select, and Enter to confirm your choices.

bash -c "$(curl -fsSL https://raw.githubusercontent.com/community-scripts/ProxmoxVE/main/vm/nextcloud-vm.sh)"
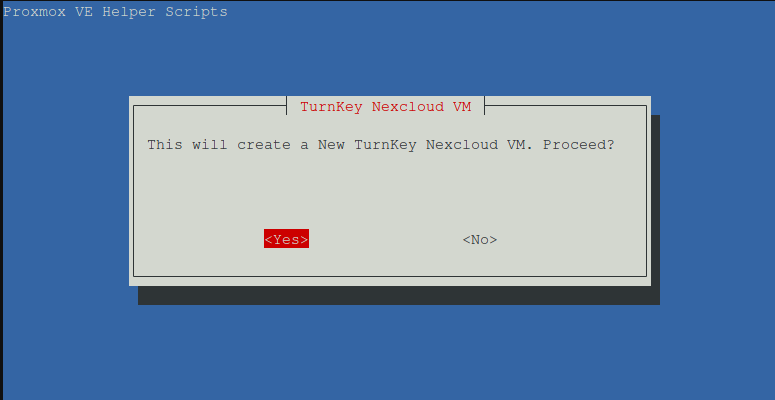
You should see the Proxmox VE Helper-Scripts interface load, asking to proceed. Press Enter to continue.
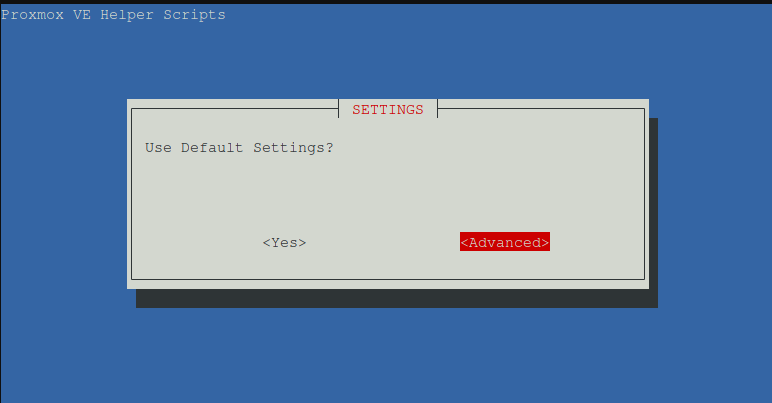
Although you can use the default settings, I recommend selecting Advanced to adjust the resources allocated to the VM to best suit your needs.
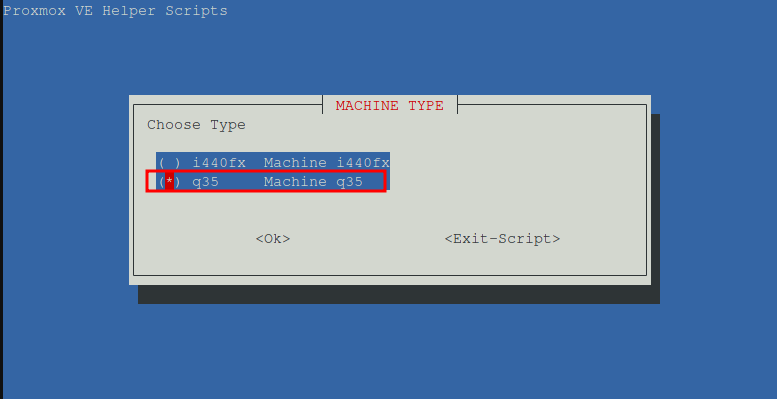
The next step is to set the Virtual Machine ID. The default is fine or set it to your preference. Next, select the Machine Type. I prefer q35 for better hardware compatibility, but i440fx is also a good choice.
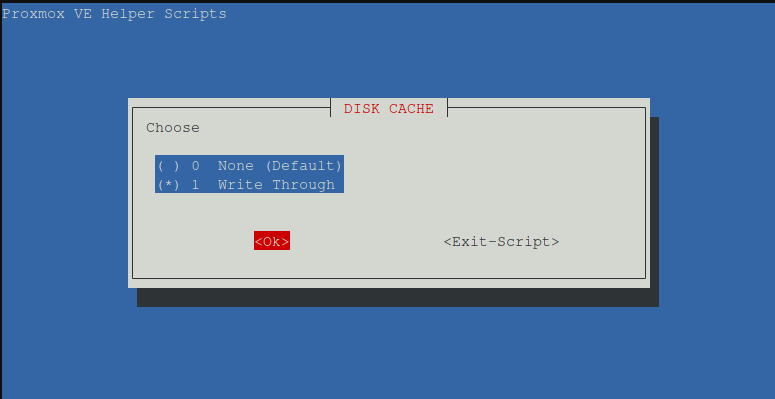
Choose whether you want no disk cache (default) or you want to enable Write Through. If using an SSD, it may be worth enabling Write Through as it will reduce the risk of data loss.
Set the hostname to your preferred hostname or leave it as the default. For the CPU Model, select host for better performance.
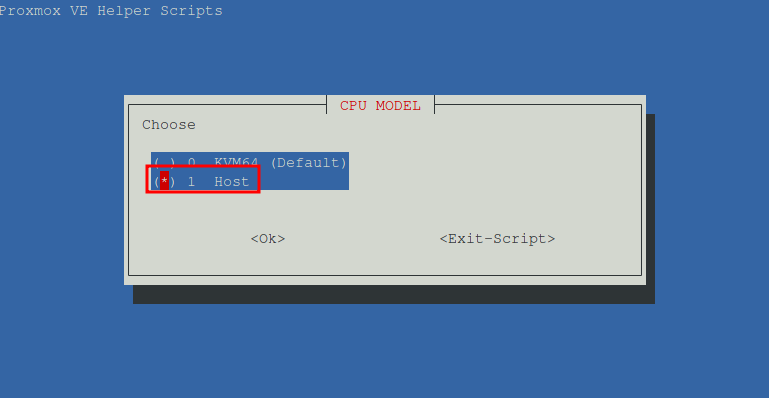
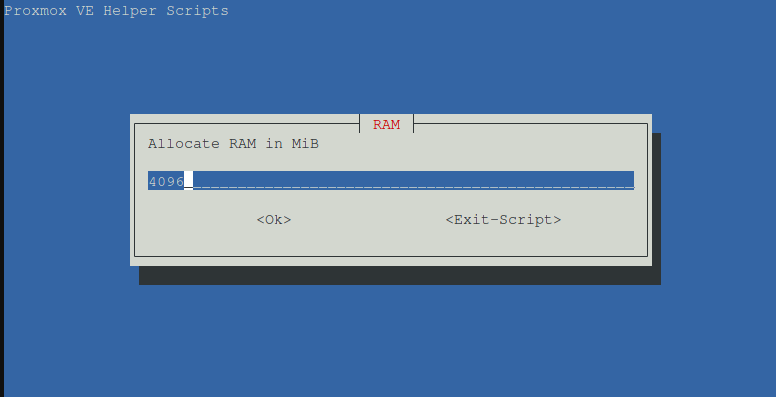
The default of 2 CPU cores is fine for most use cases. As for RAM, a minimum of 4096MB is recommended.
Leave the bridge and MAC as default. Set a VLAN and Interface MTU if applicable and then select No to prevent the VM from starting after creation. Finally, select Yes to create the TurnKey Nextcloud VM.
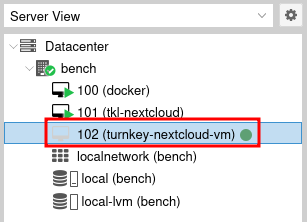
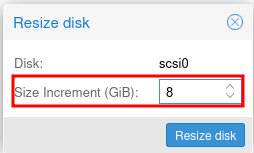
By default two disks will be attached to the VM. It is recommended to adjust the Nextcloud OS disk to at least 20GB. To do this, click on the VM in the Proxmox web interface and select Hardware. Then, select the SCSI0 disk, click Disk Action and then click Resize.
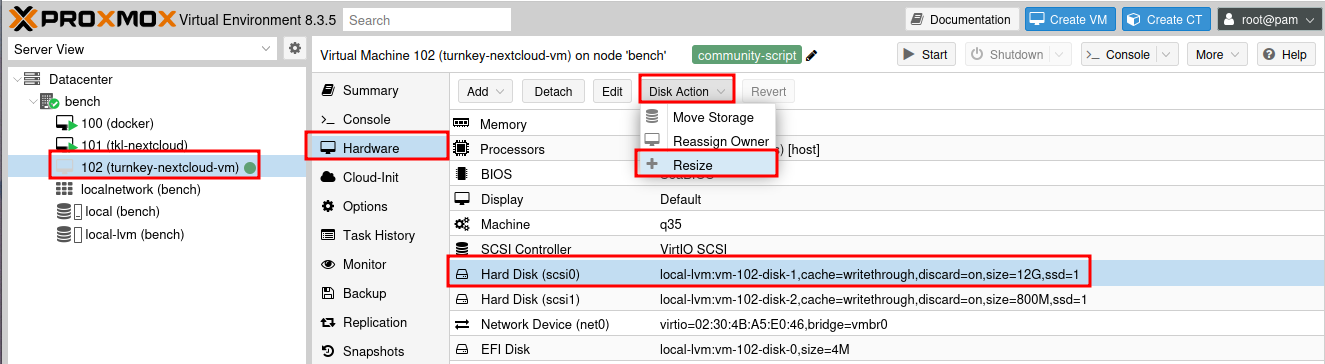
Note that you will be entering the size increment, so for 20GB enter 8GB (12+8GB = 20GB). Click Resize disk to confirm.
Now that the disk has been resized, the VM can be started by selecting the Console tab and then clicking Start Now.
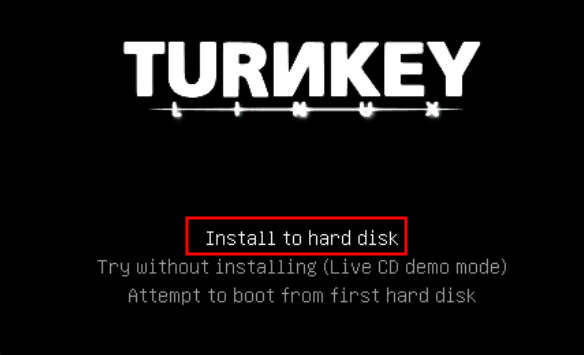
The installation media will load, select Install to hard disk to begin the installation process.
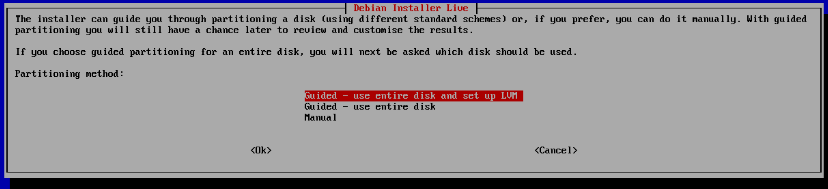
Select Guided - use entire disk and set up LVM to continue.
Make sure to select the correct disk. They may both be labeled SCSI1, so ensure you select the one with the larger size (20GB).

When prompted to write changes, select Yes.
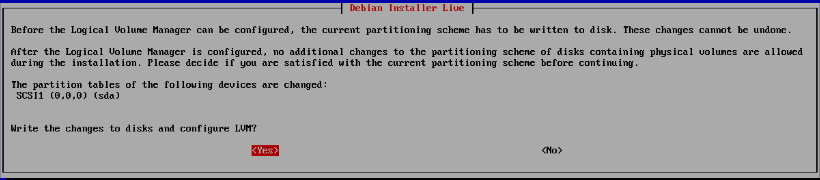
Set the volume size to max
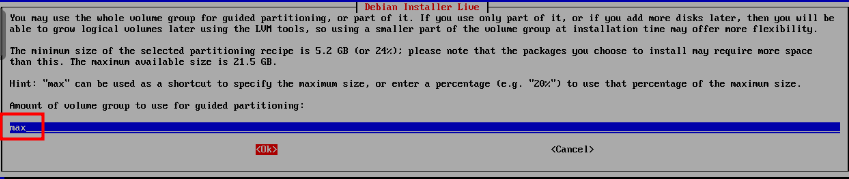
Select Yes to write the changes to disk.
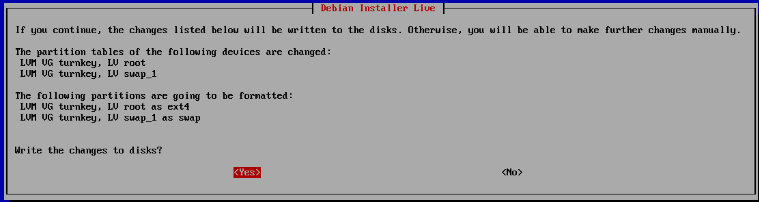
The data will be copied to the disk. When prompted to install the GRUB bootloader, select No. On the next screen, ensure that /dev/sda is selected and click Ok.
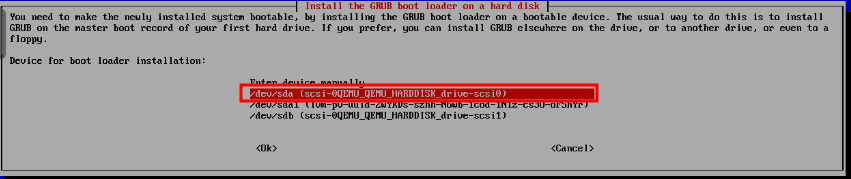
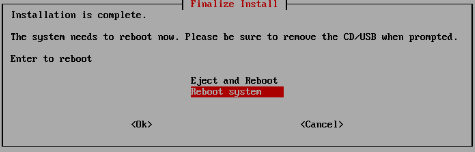
When completed, reboot the system.
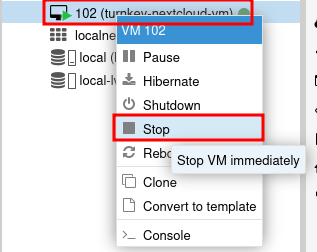
Usually the Qemu Agent will not work, so a force Shutdown will be necessary so the installation media can be removed. Right click on the VM and select Stop.
Once the VM is shut down, select the Hardware tab, then select the SCSI1 disk, and click Detach.
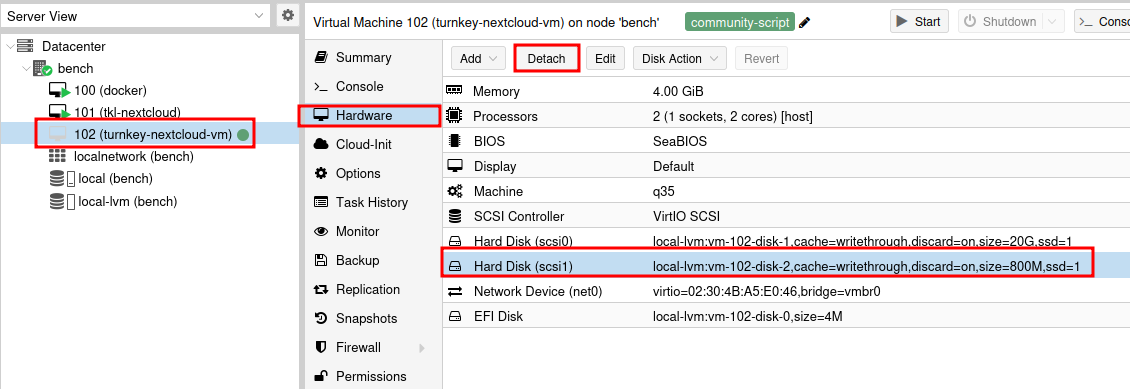
This disk should now be removed from the VM. Now navigate back to the console and click Start Now to start the VM. TurnKey Linux Nextcloud will load, and the Nextcloud configuration page will be displayed. There will be multiple prompts to create passwords. It is recommended to save the passwords in case you need them in the future.
When prompted to set the domain for Nextcloud, identify the IP address for the Nextcloud instance.
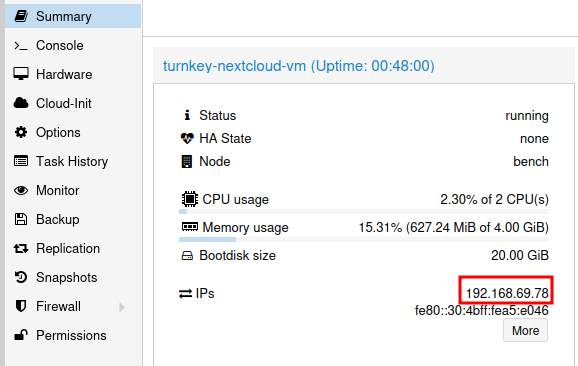
Enter the IP into the domain field
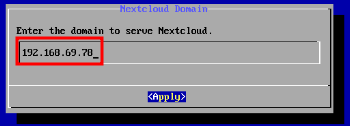
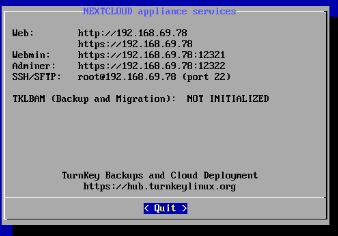
Skip creation of an API key and optionally set an Email. Install the security updates before proceeding. Then reboot the system. Once the system reboots, a prompt will display the IPs for the web interface.


No comments:
Post a Comment